Community
Damage-Free Steps for Flat Back Stud Removal
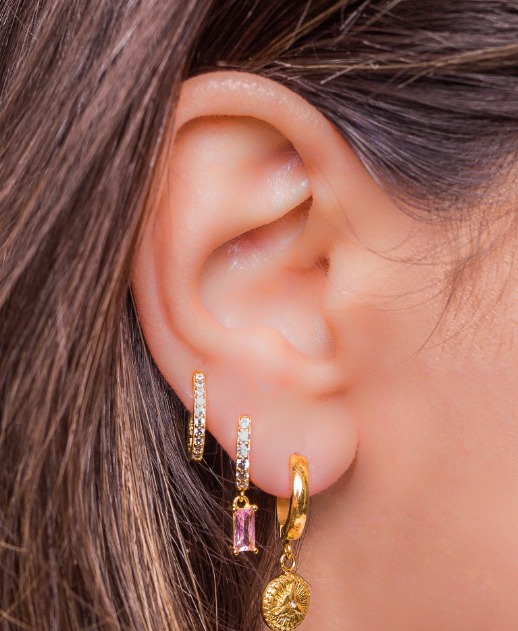
The jewelry industry changes fluidly with design trends, with current demand focusing on combining style with practicality. Flat back stud earrings epitomize this trend, offering wearers a modern aesthetic that’s as suitable for everyday wear as it is for special occasions. Their flush design minimizes snagging and allows for comfortable sleep, making them a popular choice for people with new piercings or for those who prefer a more minimalistic look.
Despite their popularity, many people struggle with the removal of these earrings, posing a risk of injury to the ear or damage to the jewelry itself. This speaks to a wider issue within the accessory market, where the functionality of jewelry often requires careful consideration. Addressing this practical concern, this article offers a fail-safe removal process of flat back studs. Unlike conventional posts and clasps, flat back studs necessitate a different approach, one grounded in patience and the correct technique. This step-by-step guide walks readers through a quick and easy method to safely remove these stylish accessories without professional assistance.
Step 1: Gather the Right Tools
Start by gathering the appropriate tools to ensure a smooth and damage-free operation. To perform this task with efficiency, you’ll require a set of needle-nose pliers or specialized jewelry pliers that are designed to delicately handle detailed pieces without causing harm. It’s recommended to have a mirror within reach to clearly visualize the earring’s position and facilitate precise manipulation. A clean cloth can be used to firmly yet gently grip the earring to minimize slippage, as well as to clean the earring post-removal. Having these tools readily available sets the stage for a successful removal of your flat back stud earrings.
Step 2: Locate the Back of the Earring
To proceed with the removal of your flat back stud earrings, stand in front of a mirror to get a clear view of the area behind your earlobe where the earring is situated. Carefully push aside any strands of hair that might be obscuring your view of the earring’s back; doing so will aid in easier access and reduce the chance of any accidental snags. It’s worth mentioning that this process might vary slightly for individuals with different hair lengths and types. For those with exceptionally long or voluminous hair, it may be helpful to use a hair clip or band to keep hair neatly out of the way as you work. By ensuring that the area around the earring is clear, you can proceed to the following steps with greater ease and assurance.
Step 3: Use the Pliers
In this third stage of earring removal, it’s necessary to use the pliers with accuracy and delicacy. With a stable hand, gently surround the pliers around the flat back of your stud earring, ensuring the grip is firm yet light—clutching too tightly could cause damage. Once you have a solid grasp, begin to turn the earring clockwise at a slow pace. This action should be gradual to prevent distorting or snapping the post. By rotating it in this manner, you are effectively loosening the earring, facilitating its eventual withdrawal from the earlobe. Patience is crucial during this step; a hasty method can risk the condition of both the earring and your ear. Keep a light hand throughout this procedure to successfully get the earring ready for full removal.
Step 4: Remove the Earring
Once the earring has been sufficiently loosened from the twisting action in the previous steps, the next task is to take it out with care. Gently pull the earring out in the same direction as the earlobe, maintaining a stable and even power. If you feel any resistance that was not apparent before, stop your removal attempt and adjust the post slightly to reduce any friction. It’s important to take your time through this process, as the ear tissue is delicate and can be easily harmed. Always prioritize a gentle approach to prevent unnecessary discomfort or possible damage to the ear or the earring itself.
Step 5: Clean and Store the Earrings
Once you’ve successfully taken out your flat back stud earrings, the next step is to keep them clean and protected. Begin by gently wiping the earrings with a soft cloth to remove any debris or oils that may have accumulated on the surface. This will help in maintaining the earrings’ luster and preventing any potential tarnishing that can occur over time. When storing your earrings, choose a secure location where they are not likely to be tossed around or come into contact with other jewelry pieces that could scratch or ding them. Ideally, a jewelry box with individual compartments or a soft pouch would be a perfect storage solution. Correctly cleaning and securely storing your earrings will extend their lifespan, ensuring that they remain a treasured addition to your collection ready for the next wear.
Stress Free Success
The process of removing flat back stud earrings can be easily done by following a few simple steps. This article has provided instructions on the necessary preparations such as collecting the appropriate tools and ensuring clear access by keeping hair away from the earring area. The importance of using pliers with caution, the need for patience when loosening and taking out the earrings, and the after-care cleaning and storing methods to maintain your jewelry, are unattested. These actions, when performed methodically, can assist you in preventing harm to both your earrings and ears.