Community
Fashioning Acrylic Keychains through Paint
Acrylic keychains serve as delightful accessories that not only add a personal touch to your belongings but also reflect your creativity and style. Crafting your own these keychains with paint offers a fulfilling and enjoyable DIY experience. In this comprehensive guide, we’ll delve into the intricate process of creating acrylic keychains with paint, from selecting the right materials to adding the final embellishments.
Materials Needed
Before diving into the creative process, ensure you have all the necessary materials at hand. Gather acrylic blanks in various shapes and sizes, paint pens or acrylic paints in your preferred colors, an assortment of paintbrushes, masking tape for creating clean edges, protective sealant to preserve your designs, keychain hardware for assembly, and a drill with a small drill bit if your blanks require holes.
Choosing Acrylic Blanks
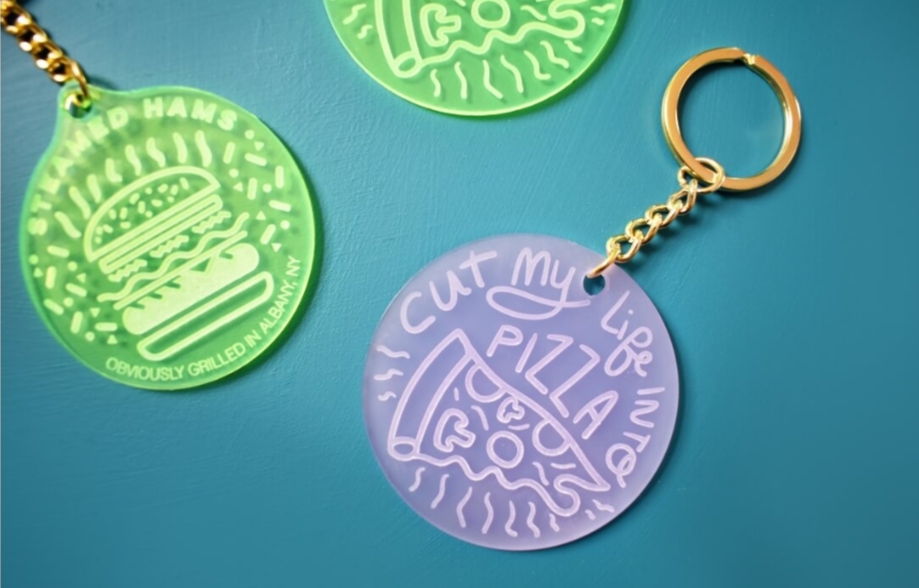
Acrylic blanks come in a plethora of shapes, from classic rectangles and circles to whimsical hearts and stars. Consider the size and shape that best complements your intended designs. Ensure the blanks are equipped with pre-drilled holes for hassle-free attachment of acrylic keychain hardware.
Preparation
To prepare the acrylic blanks for painting, start by gently cleaning them with a mild soap and water solution. This step ensures that the surface is free from any dirt or residue, allowing the paint to adhere smoothly. Thoroughly dry the blanks to prevent any watermarks or smudges from forming during the painting process. Additionally, use masking tape to section off areas or create crisp edges for your designs.
Design Planning
Designing your acrylic keychains begins with careful planning. Take some time to sketch out your ideas on paper, experimenting with colors, patterns, and motifs. Consider incorporating personal touches such as initials, quotes, or symbols that hold special meaning to you or the intended recipient. Visualizing your design beforehand helps streamline the painting process and ensures a cohesive end result.
Painting Techniques
When it comes to painting your acrylic keychains, the possibilities are endless. Experiment with different painting techniques to achieve varying textures and effects. Acrylic paints offer versatility, allowing you to layer colors, blend shades, and create intricate details with ease. Alternatively, opt for paint pens for precision and fine lines, perfect for adding delicate embellishments or intricate designs.
Adding Details
Once the base coat has dried, it’s time to add intricate details to your design. Utilize finer brushes or paint pens to embellish your custom keychains with intricate patterns, typography, or small accents. Don’t be afraid to get creative and experiment with different techniques to bring your designs to life.
Allowing Drying Time
Patience is a key when it comes to painting acrylic keychains. Allow each layer of paint to dry completely before applying additional coats or details. This ensures that the colors remain vibrant and prevents any smudging or blending of colors. Consider using a hairdryer on a low setting to expedite the drying process if necessary.
Sealing the Design
Once you’re satisfied with your painted designs, it’s crucial to seal them with a protective coating to ensure longevity and durability. Choose a clear acrylic sealer specifically formulated for use on painted surfaces. Apply a thin, even coat of sealant over the entire surface of the keychain, ensuring complete coverage. This not only protects the paint from chipping or fading but also enhances its sheen and vibrancy.
Attaching Keychain Hardware
With the painted designs sealed and dried, it’s time to assemble the keychains. Using pliers, attach the keychain hardware to the pre-drilled holes in the acrylic blanks securely. Ensure that the hardware is fastened tightly to prevent it from coming loose over time. This step completes the transformation of your painted acrylic blanks into fully functional keychains ready for use.

Drilling Holes
In the event that your acrylic blanks do not come with pre-drilled holes, you’ll need to drill them yourself using a small drill bit. Exercise caution and wear protective eyewear when drilling acrylic to prevent any accidents or damage to the material. Take your time and drill slowly to create clean, precise holes without causing any cracks or fractures in the blanks.
Trimming Excess
Once the keychain hardware is securely attached, carefully trim any excess masking tape or paint from the edges of the acrylic blanks using a sharp blade or scissors. This step helps achieve a clean and polished finish, enhancing the overall appearance of your keychains.
Inspecting for Imperfections
Before applying the final sealant, take a moment to inspect the keychains for any imperfections or areas that may require touch-ups. Make any necessary corrections using additional paint or touch-up pens to ensure a flawless finish. Attention to detail at this stage ensures that your keychains will be of the highest quality.
Conclusion
Making acrylic keychains with paint is a fun and creative DIY project that allows for endless possibilities. With the right materials and techniques, you can design custom keychains that reflect your personality and style. Whether you’re making them for yourself or as gifts, they are sure to be cherished keepsakes for years to come.